How To:
- Create a New I-9
- Select "Start I-9" Page on left vertical menu
- Enter or have the new employee enter their SSN to search Guardian for their profile if already entered
- If not found, select "Create New I-9" and have the employee complete Section 1 and present documents to be examined, and then complete Section 2 and close the E-Verify Case.
- Terminate Employees
- Search employee name in "I-9 Forms" search page on left vertical menu
- Select employee's name
- Select the "Job Details" tab on the top horizontal menu.
- Click on the "Terminate Employee" button under "Employment History" and enter the correct termination date (employee's last day in pay status)
- Search Guardian for Employees not Assigned to your Department
- Select "Employees" Page on left vertical menu
- Enter Employee Name or Employee ID No (from Drop Box).
- If employee is found under "Employee History," verify their DOB.
- If employee is assigned to a different department, contact the I-9 Administrator to transfer their I-9.
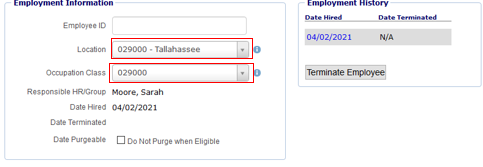
- The Location and Occupation Class are the department/budget number of the assigned department.
- Update Employment History for Rehires
- Search employee name in "I-9 Forms" search page on left vertical menu
- Select employee's name
- Select the "Job Details" tab on the top horizontal menu
- Ensure the employee's termination date is entered if applicable
- If employee is transferring without a break in service, termination date is not required
- Click on the "Rehire Employee" button under "Employment History" and enter the correct rehire date.
- See Rehire Page of this Website for Rehire I-9 actions
- Search Guardian in a Backup I-9 Processor Role for your Department
- When searching I-9s in any page in Guardian, the default search option will search for I-9s assigned to your personal HR name. However, your department I-9s will be assigned only to your primary I-9 Processor.
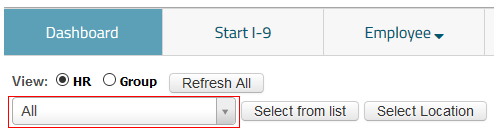
- Change the search options
- HR: My Locations
- HR Group: N/A
- Click "Set Defaults"

- Change Dashboard Listing to "My Locations"
- Add Section 3 Entries
- Search employee name in "I-9 Forms" search page on left vertical menu
- Select I-9 Number to go to I-9 Page
- Scroll down to the Section 3 Box
- Follow the black horizontal bar to the right and click "Add"

- Select the reason for the entry and click "Add Section 3 Entry!"
- Approve the Entry!"

- Update I-9s which used Receipts
- To be done only once the original document is presented and examined.
- Receipts are not "original documents"
- Find their I-9 under the "Top I-9s Needing Further Action" Dashboard
- Select the "Date I-9 Created"
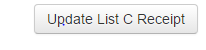
- Select "Update List C Receipt" button
- Selecting the button directs you to Section 2 and unchecks the receipt option automatically.
- Click "Check Form" at the bottom of the page, conform your identity, and sign the form with your Guardian password.
- Click "Mark Completed" and "Mark Approved" and complete the E-Verify Case.
- To be done only once the original document is presented and examined.
- Enter SSNs for NRA I-9s Missing SSNs upon SS Card Retrieval
- I-9s with missing SSNs should not be approved and should be listed in your "Top I-9s Needing Approval" Dashboard
- *The employee is required to be present*
- Select the "Date I-9 Created" for the I-9 needing updated
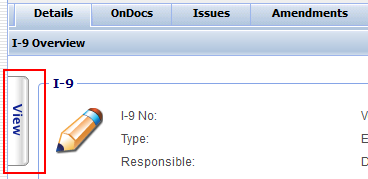
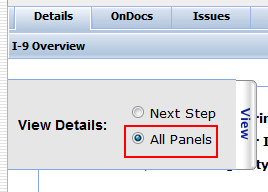
- On the I-9 Overview Page, scroll your mouse over the sideways "View" bar at the top left of the page and select "All Panels"
- Select "View Section 1"
- Select "Edit Section 1" on the bottom of the page
- The employee will then replace the temporary SSN with their actual SSN
- The employee will electronically re-sign Section 1 like originally done
- Select "Mark Completed"
- Select "Approve the I-9"
- Close the E-Verify Case
- Find Open E-Verify Cases
- Select the E-Verify button on the left vertical menu

- If you are your department's backup I-9 Processor, select the options to search for I-9s in "My Location" and not your personal HR Name
- Select the "Date Created" to interact with the E-Verify screen and close the E-Verify Case
- Select the E-Verify button on the left vertical menu
- Amend Incorrect Hire Dates
- Email the I-9 Administrator with required info to correct the Hire Date on the I-9.
- Remote I-9 Process Job Aid
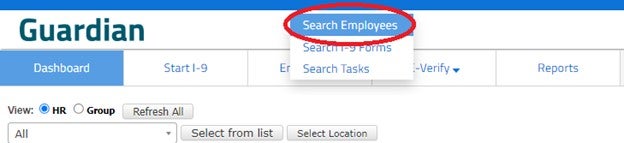
- Go to Employee -> Search Employees
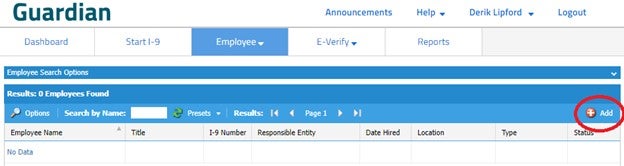
- Click on the red Add button to start creating the Employees profile.
- Enter the Employee’s SSN. If they don’t have one yet, select “Create Employee without SSN”.
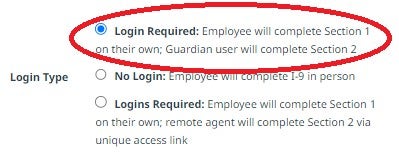
- When entering employee’s information, make sure Login Required is selected for Login Type. This allows Guardian to send the link through email so the employee can complete Section 1 remotely.
- After entering all the information, click Create Employee.
- Guardian will generate an email to send the employee their login link. Select Send E-Mail.
- Go to Employee -> Search Employees
After the employee has completed Section 1, the Department Representative can virtually verify an employee’s documents to complete Section 2.
- Examine copies (front and back, if the document is two-sided) of Form I–9 documents or an acceptable receipt to ensure that the documentation presented reasonably appears to be genuine.
- Conduct a live video interaction in a secure environment with the individual presenting the document(s) to ensure that the documentation reasonably appears to be genuine and related to the individual. The employee must first transmit a copy of the document(s) to the employer (per Step 1 above) and then present the same document(s) during the live video interaction.
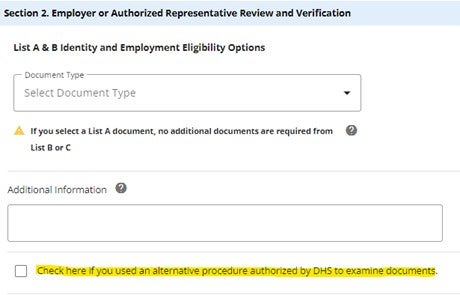
- Indicate on the Form I–9, by completing the corresponding box, that an alternative procedure was used to examine documentation to complete Section 2 or for reverification, as applicable.
- Retain, consistent with applicable regulations, a clear and legible copy of the documentation (front and back if the documentation if two-sided); and
- In the event of a Form I–9 audit or investigation by a relevant federal government official, make available the clear and legible copies of the identity and employment authorization documentation presented by the employee for document examination in connection with the employment eligibility verification process.
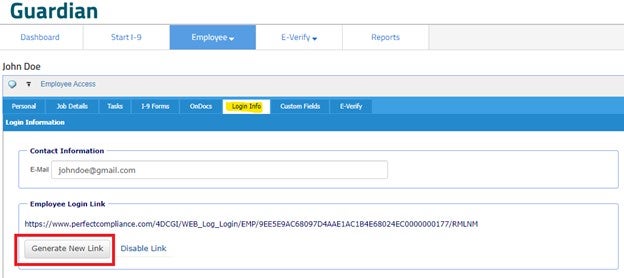
Note: If the link has expired, you can generate a new one under Login Info tab in the employee’s profile.